11 Chicken Run Extension Ideas: Make an Existing Run Bigger
Flocks grow. Runs, unfortunately, do not — unless you extend them. The good news is that a run extension is almost always cheaper and faster than a rebuild, because the coop, the door routine and the predator-proofing habits are already in place. These 11 extension ideas range from bolting on two panels to linking a whole second run for rotation, each with a spec card, an honest 2026 cost estimate and the joining details that decide whether an extension feels seamless or stapled-on.
Before you extend: three checks
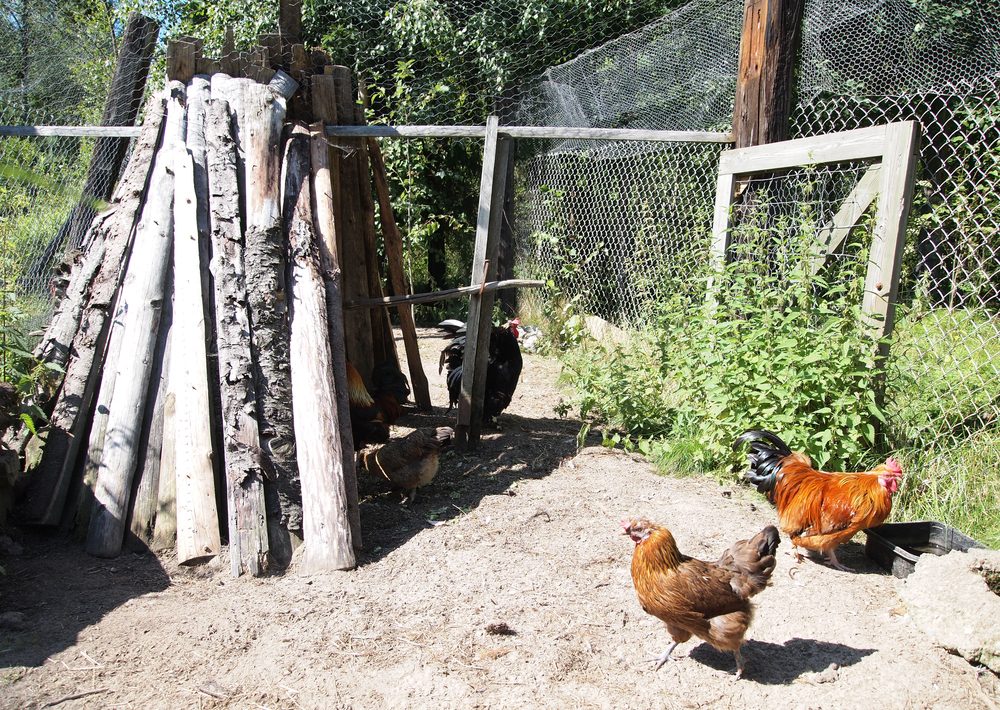
First, find out why you need space. More hens means more square feet by the 10-per-bird rule; the same hens fighting means they may need a second zone more than raw area. Second, check the existing run's weak points before you build onto it — extending a run whose mesh is failing just gives you a bigger failing run, so run through the predator-proofing checklist first. Third, look at your boundaries and rules: extensions creep toward fences, and setback rules that were satisfied by the original run may not be satisfied by the bigger one. A tape measure and five minutes now beats a rebuild later.
The 11 extension ideas
1. Bolt-On Panel Extension
The cleanest extension of all: unbolt or unscrew the end wall of the existing run, add one or two framed mesh panels in the same style, and re-hang the end wall at the new boundary. Because the panels match the original construction, the join disappears visually and structurally. Build the new panels on a flat surface, square and true, and they will meet the old frame without a fight. The one place extensions leak predators is the seam — overlap the mesh at the join by a few inches and fix both layers, rather than butting two edges together and hoping. If your run was built from a kit, the manufacturer may sell the exact panels; they cost more than DIY panels and save an entire afternoon.
2. Second Run Linked by a Pop Door: The Rotation System
Instead of one bigger run, build a second run beside the first, sharing a wall with a pop door in it. Open the door to one side while the other rests, and the ground recovers — grass regrows, parasite load drops, mud dries. Rotation is the single biggest quality-of-life upgrade for a grass run, worth more than raw extra space. The shared wall halves the new fencing you need, and the pop door can be a simple sliding panel you operate from outside. Keep both runs independently secure; a pop door left open between a rested run and a predator is just a corridor. Many keepers find the twin-run layout in our walk-in ideas (the divided run) is the same idea in one structure — choose whichever your space allows.
3. Chunnel Extension Into New Ground
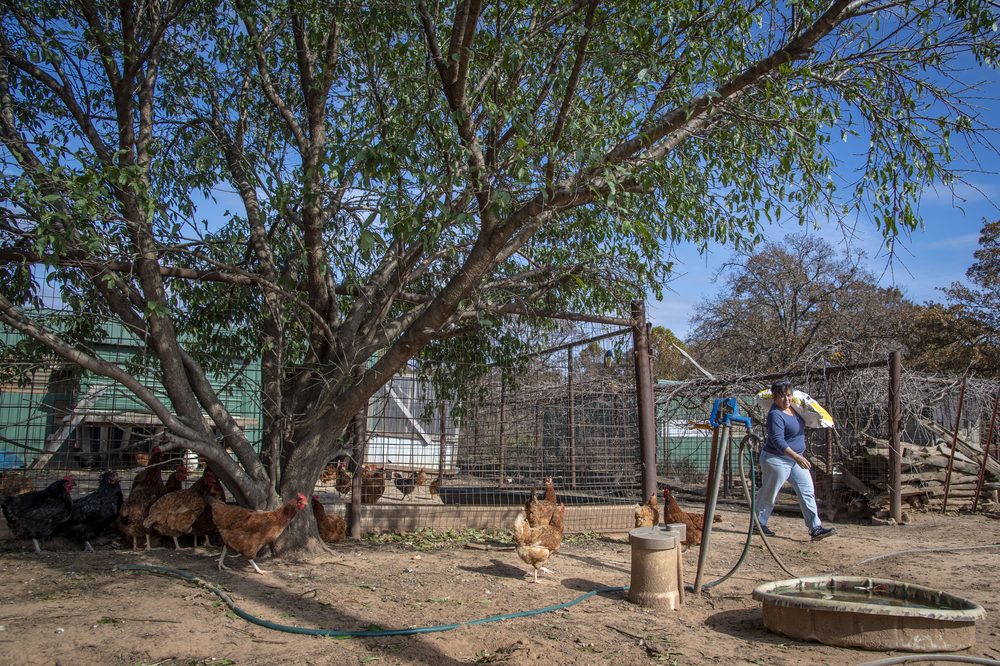
A chicken tunnel lets the extension be somewhere else entirely: under the fruit trees, around the compost heap, along the garden edge — anywhere hens are useful but a full run cannot go. Connect it to the existing run with a closable pop door, build it in lift-out sections for access, and the flock commutes to work each morning. The tunnel itself adds little living space; what it adds is range, forage and pest control in places that need it. Close the tunnel at night without exception — a chunnel is the hardest part of any system to make truly predator-proof, and the flock should sleep in the secure run. This is the extension that pays for itself in slug control alone.
4. Electric Netting Day-Range Extension
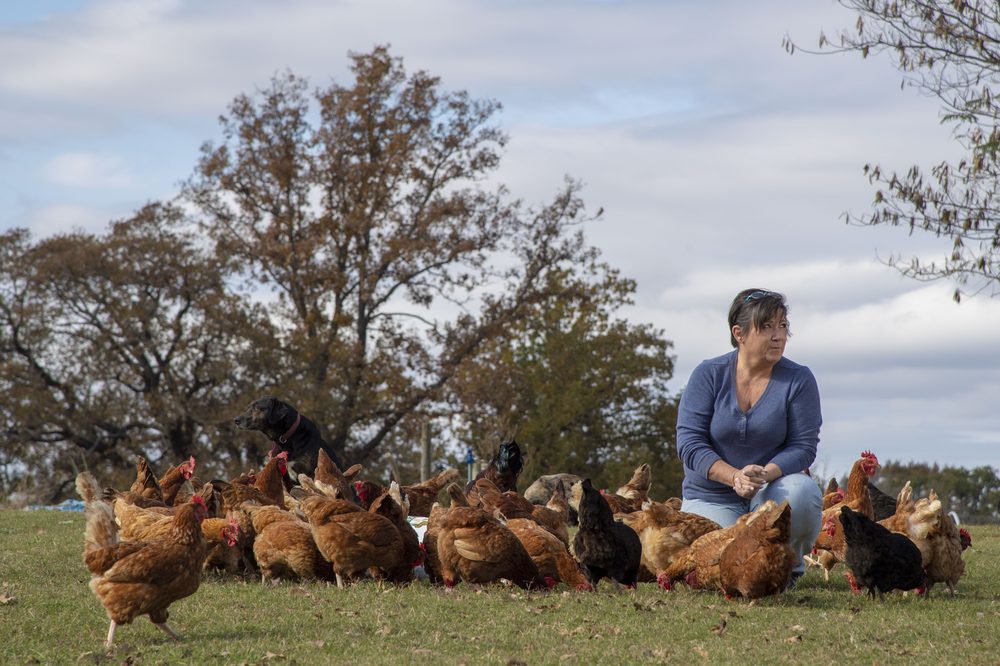
The cheapest square footage in chicken keeping: a roll of electric poultry netting fenced out from the run's pop door gives the flock a big rotating day range while the secure run remains home base. Move the netting every week or two and the ground never gets hen-sick. Be clear-eyed about what netting is: a psychological barrier that works because predators and hens alike respect the shock — it is not a wall, it does not stop hawks, and it is not night security. The flock goes back into the proofed run at dusk, always. A solar energiser suits most backyard setups and removes the mains-wiring question entirely. For the full mobile picture, see the netting system in our chicken tractor ideas.
5. Fence-Line Extension: Borrow the Boundary
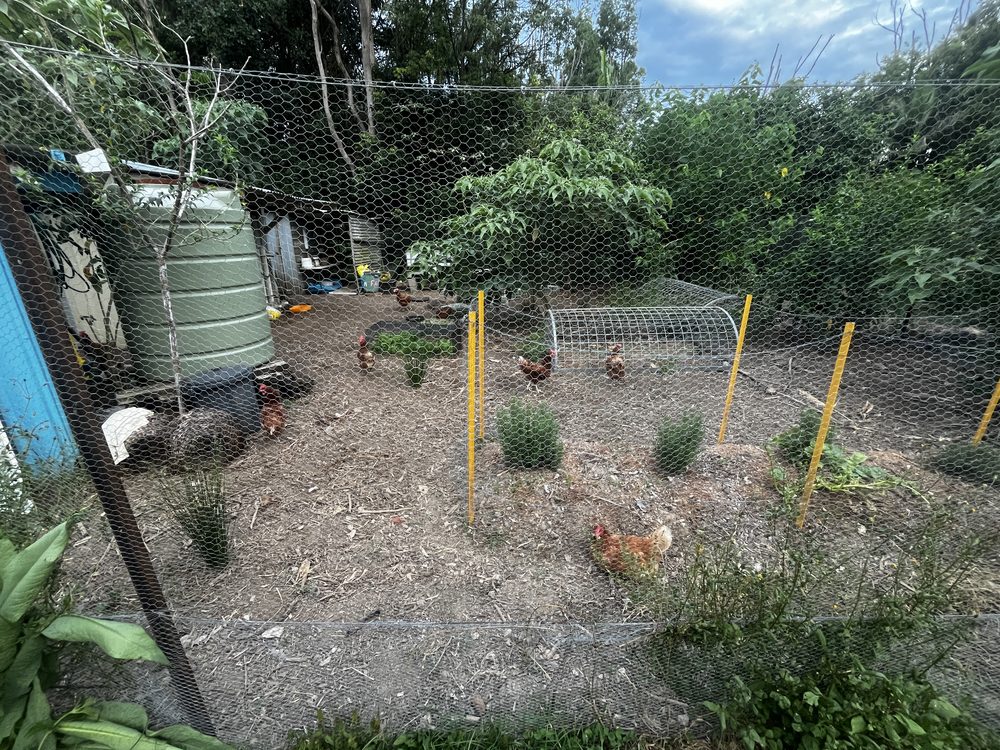
If your run sits near a solid boundary fence, the cheapest wall is the one that already exists: extend the run sideways to meet the fence and let the fence form one long side. You frame three sides instead of four and gain a long, useful strip. The conditions are strict, though — the fence must be sound to the ground with no gaps a hen can squeeze or a paw can reach through, and you must be able to inspect its base. Line the fence side with hardware cloth if there is any doubt; chain-link and paling fences both fail the reach-through test on their own. Check whose fence it is and what your local rules say about structures against boundaries before the first post goes in.
6. Side Lean-To Extension
Extend sideways instead of lengthways: a lean-to bay along the run's long wall, roofed at a single slope, gives you new ground that arrives already covered — the natural home for the feeder station and dust bath. A side extension suits runs that cannot grow longer (a boundary, a path, the house) and has a housekeeping bonus: the new bay can be mucked out while the flock uses the old run, and vice versa. Match the roof slope direction to the existing roof so the two shed water the same way, and flash the join between them; side-by-side roofs of different pitches create a valley, and valleys collect both water and leaves.
7. Reclaim the Under-Coop Space
The cheapest extension is the one you already own: if the coop stands on legs and the space beneath is open or wasted, mesh it in and connect it to the run. Hens prize this space — shaded, dry, hawk-safe-feeling — and will use it more than its square footage suggests. It does not count at full value in the sizing maths unless a hen can stand and flap under there (roughly 18 inches of clearance), but as bonus territory it relieves crowding pressure out of proportion to its size. Fit one side as a hinged panel; you will need human access to the far corner, because that is where the eggs and the poorly hen will always be. This pairs with the under-coop design in our small run ideas.
8. The Grower Annex That Becomes Permanent
Build the annex you need this spring — a see-through separation pen for new pullets or a broody's nursery — as a permanent, properly framed extension with its own pop door to the main run. When nobody needs separating, the door opens and it is simply more run. This solves the recurring keeper's problem: integration pens are always improvised at the worst moment, out of pallets and hope, exactly when a stressed flock needs them solid. A permanent annex costs a little more than the improvisation and works every single time. Put its door where you can reach it without entering either pen; integration week involves a lot of door operations with a hen under one arm.
9. Roofed Annex: Extend the Cover, Not Just the Ground
Sometimes the flock does not need more ground — it needs more dry ground. A roofed annex off the side of an open run gives hens a genuinely usable space in the months when the main run is a swamp, and in practice a dry 48 square feet in February is worth more than 100 square feet of mud. Build it like the covered designs in our covered run ideas: real slope, open eaves gap for air, deep dry litter. Because it is an annex, you can build it in a weekend without disturbing the existing run at all — the least stressful construction project a flock ever sleeps through.
10. Go Up: Add a Platform Level
When the fence line says no, build up: a sturdy platform at about 2 feet, reached by a cleated ramp, adds a second level that hens use constantly — perching, escaping a bully, claiming the sunny spot. Honesty first: platforms do not count toward the 10-square-feet-per-hen ground rule, and no platform makes an overstocked run legal. What they do is make a correctly stocked run feel twice as big and cut bullying dramatically, because a hen with somewhere to go is a hen who does not have to fight. Build the platform like a floor — joists, decking boards, a low edge rail — and put a dust-bath tray up there for the full penthouse effect.
11. Seasonal Panel Extension
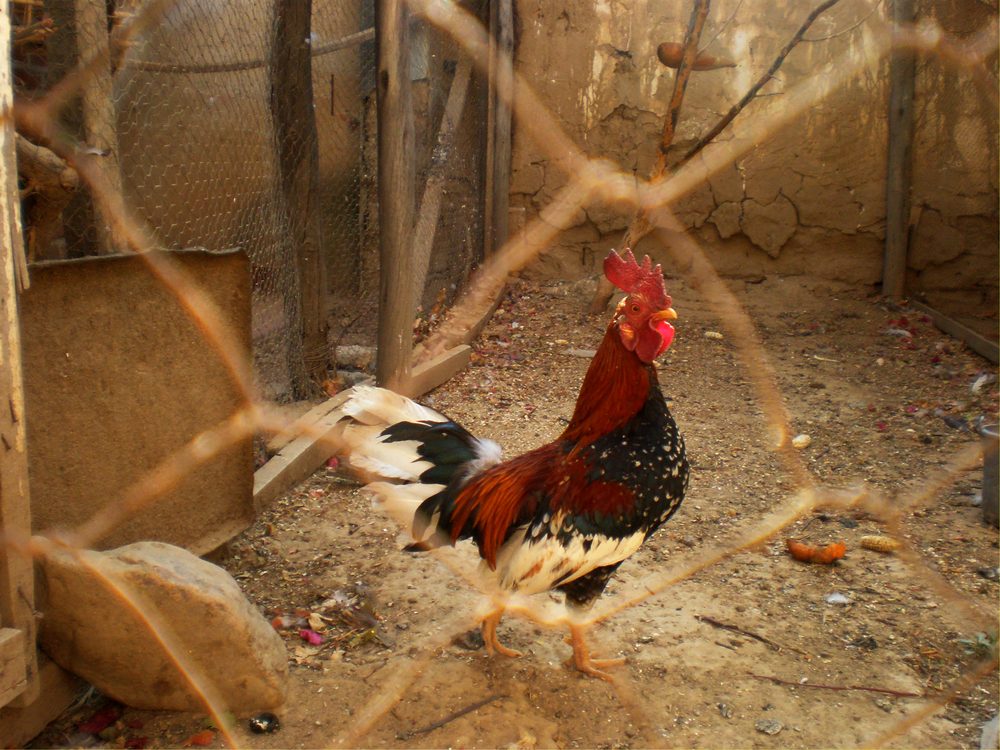
Not every extension has to be forever. A set of framed mesh panels that bolt onto the run each spring — giving the flock the vegetable patch after harvest, the lawn corner through summer — and stack flat in the shed each autumn suits gardens that change jobs with the seasons. The panels must be genuinely rigid and properly fixed, not hooked garden fencing: a seasonal extension is still a predator boundary every night it is up. Mark each panel's position as you build (number them), store the fixings in a labelled tin, and the spring rebuild takes an hour instead of a weekend. This is also the polite option where a permanent bigger run would strain neighbourly relations.
How to choose your extension
If the flock grew, bolt on panels (idea 1) or borrow the fence line (idea 5) for honest new square feet. If the ground is tired rather than the flock bigger, rotation (idea 2) or netting (idea 4) fixes the real problem. If winter is the squeeze, extend the roof (idea 9) before the footprint. And before any of it, reclaim the free space (idea 7) and add the platform (idea 10) — the two cheapest capacity upgrades in chicken keeping. Whichever you choose, keep the extension's mesh, latch and apron standards identical to the main run's; predators test the new join first, every time. If the total is straining the budget, our budget breakdown shows which parts of an extension can safely wait.
Joining old to new: the details that matter
Level across the join. The new section's floor will settle; the old one already has. If you build both dead level on day one, they will not match by spring. Either found the extension properly (posts to the same depth, a compacted gravel bed) or deliberately build in a small step at the join — a timber threshold the hens hop over — so settlement never opens a gap at ground level. Gaps at the join are not cosmetic: they are the predator's door and the hen's escape hatch in one.
Match the mesh standard, not just the mesh. The extension should meet the main run's specification — same aperture, same gauge, same apron depth — even if the new mesh looks identical on the roll. Mixing a strong old run with a lighter new section gives you a run that is exactly as safe as its weakest panel, and raccoons audit new work within the week. If the original run predates your predator-proofing standards, the extension project is the moment to bring the whole structure up to standard at once; the tools are already out.
Work around the flock, not through them. Hens do not respect construction zones. Build the extension as a complete separate structure first — three and a half walls, roof, its own apron — and only open the connecting wall at the very end, ideally in the morning so the flock has all day to explore the new ground before roosting. Cutting the connection first and building around loose hens is how afternoons get lost to chicken-catching. If the join needs the old wall removed entirely, hang a temporary mesh panel in the gap every night without exception; an unfinished extension left open overnight is an invitation written in wire.
Think about your own route. Extensions change how you move: where the waterer gets filled, which door you use in the rain, where the wheelbarrow turns. Walk the new layout with a bucket before you fix the door positions permanently. The extensions that delight their owners are the ones where the human ergonomics were designed, not discovered.
Run extension FAQs
Is it cheaper to extend a run or build a new one?
Extending is cheaper in almost every case — you keep the coop, one or two walls, the door routine and the site works. The exception is a run whose frame and mesh are both failing; extending a rotten run is money into a sinking ship, and a clean rebuild on the same spot wins.
How do I join new mesh to old without leaving gaps?
Overlap, never butt. Lap the new mesh over the old by at least 3–4 inches and fix both layers to the same batten or with hog rings every few inches. Gaps at joins are the number one entry point after any extension — predators find them within the first week.
Will my hens use an extension straight away?
Cautiously, over a few days. Hens are suspicious of new ground; scatter feed just inside the new area, open the connection in the morning, and let them explore at their own pace. A pop door they can retreat through makes the new space feel safe much faster.
Do I need to re-check local rules before extending?
Yes. Setbacks from boundaries, total structure size and hen limits can all be triggered by an extension even when the original run was compliant. A quick check of your local ordinance — or a call — is far cheaper than moving a finished extension.
Can I extend a run in winter?
You can, and the roofed annex (idea 9) is often a winter project by necessity. Ground work is harder in frozen or waterlogged soil, so panel-based extensions that bolt together beat dug-post designs in the cold months. The flock will supervise either way.
How much extra space does a platform really add?
None, on paper — platforms do not count toward the ground-area rule. In practice, a good platform relieves the social pressure that makes a run feel crowded, which is often the real problem. Treat it as an enrichment upgrade, not a stocking licence.
Should I extend my run or reconfigure the inside first?
If the flock is at or under the honest stocking rate but still squabbling, reconfigure first — a platform, a second feeder and a visual barrier solve more problems than square feet do. If you are over the rate, no furniture fixes that; extend. The test is the maths in our sizing guide, not the noise level.
How long does a typical run extension take to build?
A bolt-on panel extension is a day for two people. A fence-line or lean-to extension runs a weekend, mostly in levelling and mesh work. A second full run for rotation is a bigger project — two or three weekends at a sensible pace. In every case the mesh skinning takes longer than the framing, and the join takes longer than either per square foot. Plan the work so the flock is never left unsecured overnight, and the timetable can stretch as far as it needs to.
Ready to build one properly?
Our free starter plan — the Backyard Run, 8′ × 16′ — is built from bolted panels, which makes it the easiest design to extend later: the full materials list shows exactly how the panels join.
Pin it for later