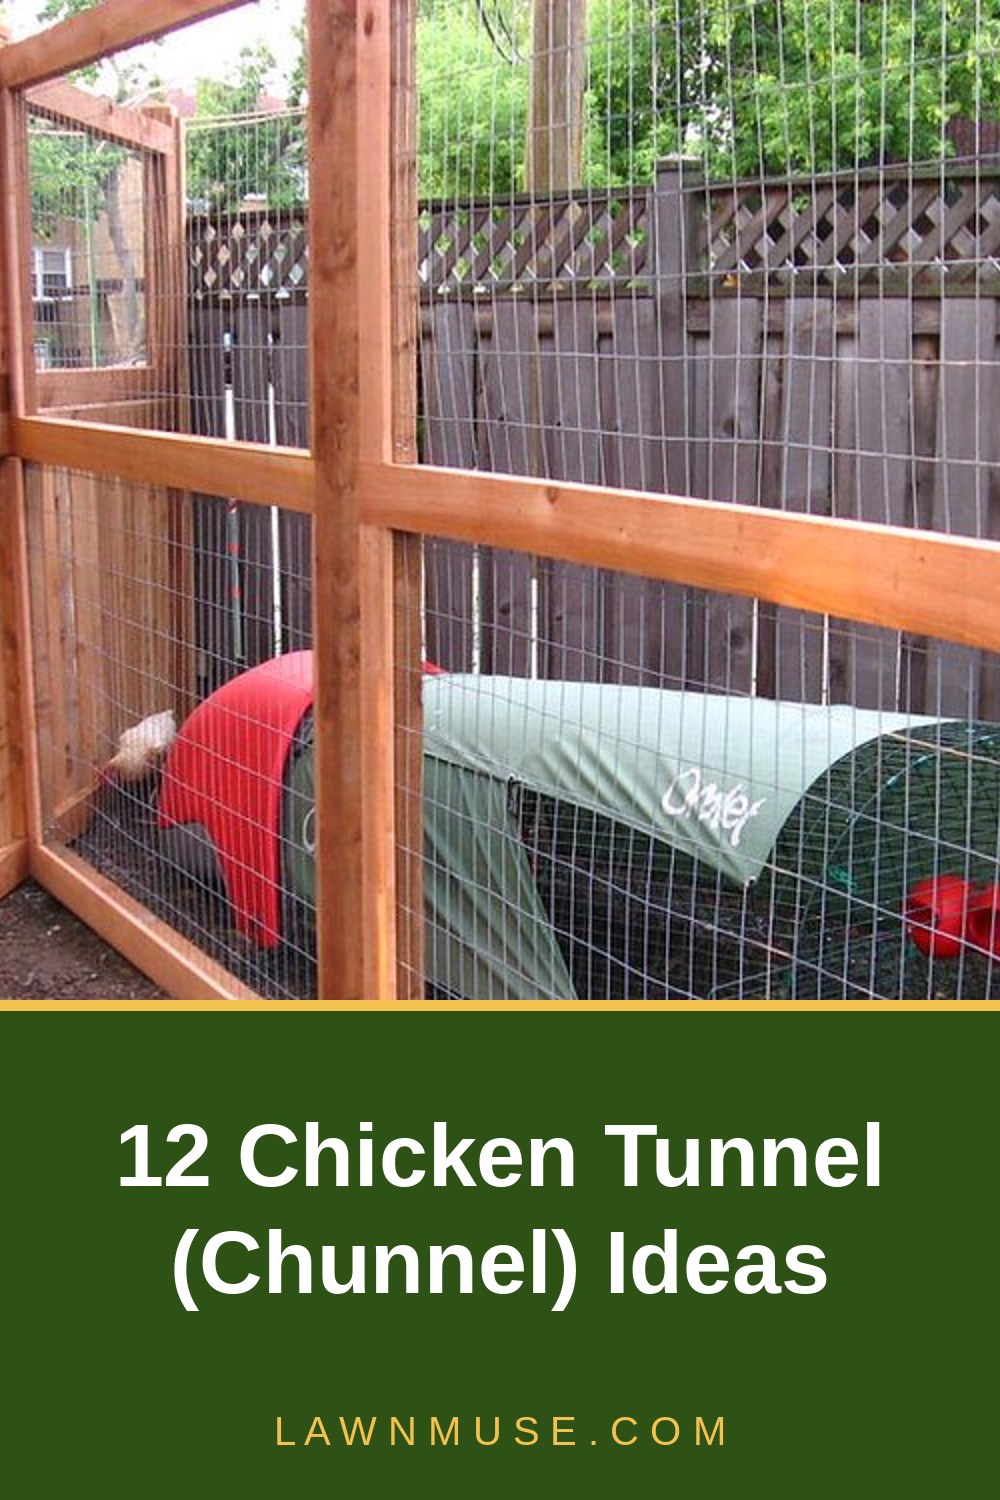
12 Chicken Tunnel (Chunnel) Ideas
The chicken tunnel — the chunnel — solves the oldest problem in garden chicken keeping: hens are wonderful for a garden and catastrophic in one. A low mesh tunnel lets the flock travel through the garden on patrol, eating slugs, beetles and weed seeds along the paths and bed edges, while the crops grow an inch away, untouchable. These twelve tunnel ideas cover everything from a single bed-side run to a full tunnel network linking coop, pens and garden — each with sizes, costs and the details that make tunnels work rather than sag.
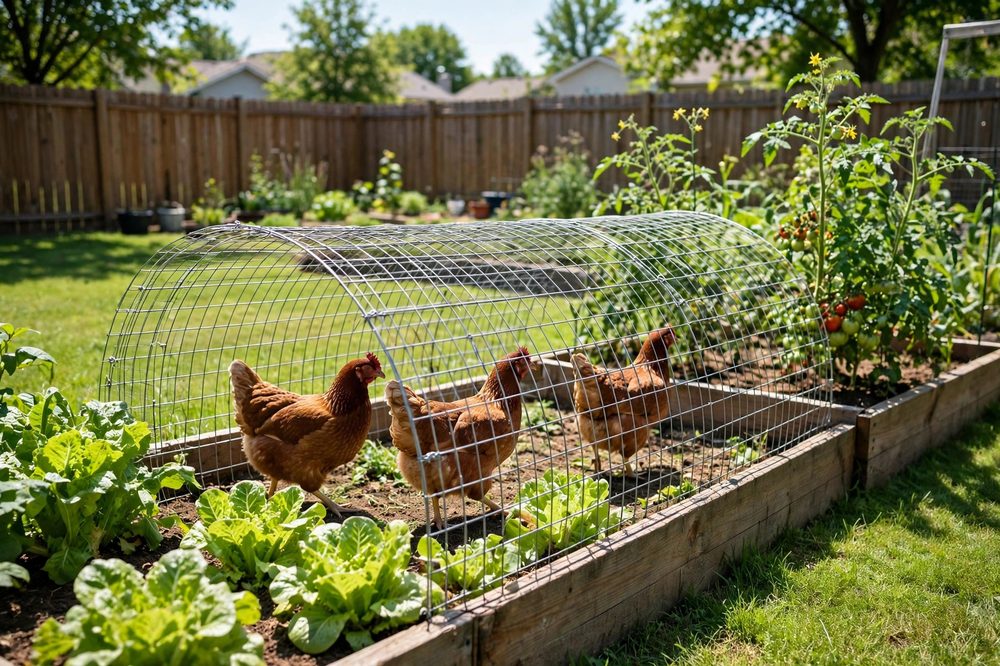
One rule before the list, because it decides whether a chunnel delights or disappoints: a tunnel is a corridor, not a home. The flock still needs its full run — 10 square feet per hen of proper space with food, water and shelter — and the tunnel is the commute and the workplace, not a substitute. Keep tunnels at least 12 inches wide and tall for bantams and 18–24 inches for standard hens, make them in liftable sections, and give every tunnel a closable door at the run end so you control access. The main run ideas list has the chunnel in context; this page is the deep dive.
A note on the photos: real chunnels are oddly rare in the licensed photo libraries, so two images here are labelled AI-generated illustrations of typical builds. Every design described is a real, commonly built pattern.
1. The Classic Bed-Side Chunnel
The original and still the best: a tunnel of bent welded wire running along the edge of the vegetable beds, connected to the run at one end. Hens patrol the bed line all day, taking the slugs and insects that shelter at the bed edges — which is precisely where those pests live — while the mesh keeps beaks a safe inch from the crops.
Build it in 8-foot sections of 2×2 or 2×3 welded wire, bent over a simple former (a barrel or a marked-out arc on the ground) so every section matches. Peg sections down with landscape staples and join them with clips so the whole line lifts away for digging and planting days. Keep the tunnel on the path side of the beds, not over them, and accept the one maintenance truth: grass grows up through a tunnel left in place, so lift and trim the line monthly.
2. The Fence-Line Tunnel
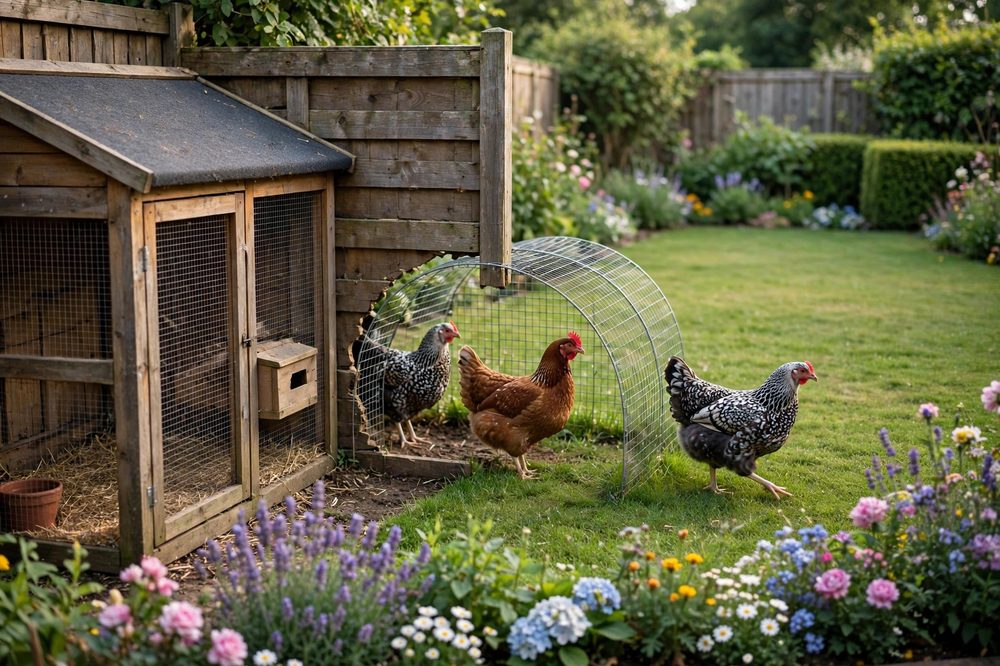
Run the tunnel along the fence instead of the beds and it becomes the flock's highway to the far end of the garden — past the lawn, along the boundary, to a second pen, a compost corner or a patch of ground you want worked. Fence-line tunnels use the least valuable strip in the garden and give the longest routes, which matters: a tunnel's value grows with every foot of new ground it reaches.
Where the tunnel must cross from one side of a fence to the other — from run to garden, say — cut a hen-sized arch in the fence bottom or pass the tunnel under a raised gate, and fit a sliding mesh door on the run side. That door is the tunnel's tap: closed at night, closed when the garden is being sprayed or the dog is out, open the rest of the time. Anchor the fence-line run well; it is the tunnel most likely to be tested by a predator travelling the same boundary.
3. The Coop-to-Run Connector
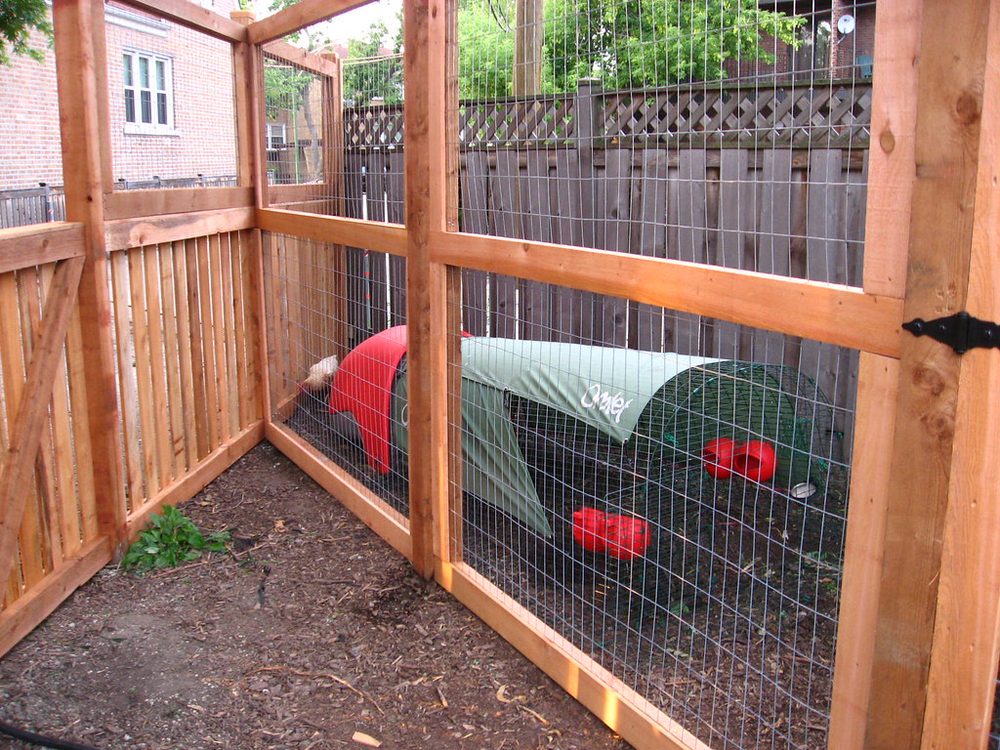
Sometimes the coop cannot touch the run — a path intervenes, a slope, a tree, a landlord. A short, stout connector tunnel bridges the gap: hens file from coop to run through a covered mesh corridor, and the two structures work as one home again. It is the least glamorous tunnel here and, for the yards that need it, the one that changes everything.
Build connectors stronger than garden tunnels — this one is permanent and predator-critical, so use hardware cloth or heavy welded wire on a timber frame, a proper little door at the coop end that closes at night, and a removable top panel so you can clean the corridor and retrieve the inevitable egg laid mid-commute. Keep it as short and straight as the yard allows; hens use straight tunnels confidently and hesitate at dark corners. If the gap is longer than about ten feet, reconsider the layout before building — long connectors collect eggs, droppings and hesitation in equal measure, and moving the coop is sometimes the cheaper engineering.
4. The Rotation Tunnel (Run to Resting Pen)
Pair a tunnel with the two-run rotation and the flock moves itself: a tunnel from the home run to the rested pen, opened when the rotation changes, lets the hens commute to fresh ground while the old run recovers. Unlike moving a coop or carrying hens, the rotation tunnel makes changing paddocks a door-opening exercise — the birds do the travelling, at dawn, in an orderly queue, because hens are creatures of route and habit.
This is the tunnel that scales the large-flock rotation systems down to garden size. Fit doors at both ends (you will want to close the tunnel itself for cleaning and to use it as a temporary separator when introducing new birds), and make at least one section liftable so the tunnel can be re-routed as pens change. A rotation tunnel plus two modest pens beats one big pen for ground condition, every time. Mark both door positions on the fence with the same coloured tie, so whoever shuts up at dusk can see at a glance which route is open.
5. The Raised-Bed Perimeter Loop
Scale the bed-side chunnel into a loop that rings the whole vegetable plot: one continuous patrol route around every bed, entered from the run through a single door. The flock becomes the garden's standing pest patrol, working the full perimeter daily, and the loop has a hidden benefit — no dead ends. A hen chased by a flock-mate (or startled by a hawk shadow) can always run forward, which makes loops calmer than there-and-back tunnels.
Corners are the craft: bend sections on a tighter former or mitre two sections into a framed corner piece, and keep the loop's width consistent so nobody wedges. Plan the loop when the beds are planned if you can — a tunnel-width path around the beds (about 2 feet) is all the space it asks, and most gardens already have it. This is the tunnel that makes visitors say the chickens run the garden, in the good sense.
6. DIY Welded-Wire Sections (The Standard Build)
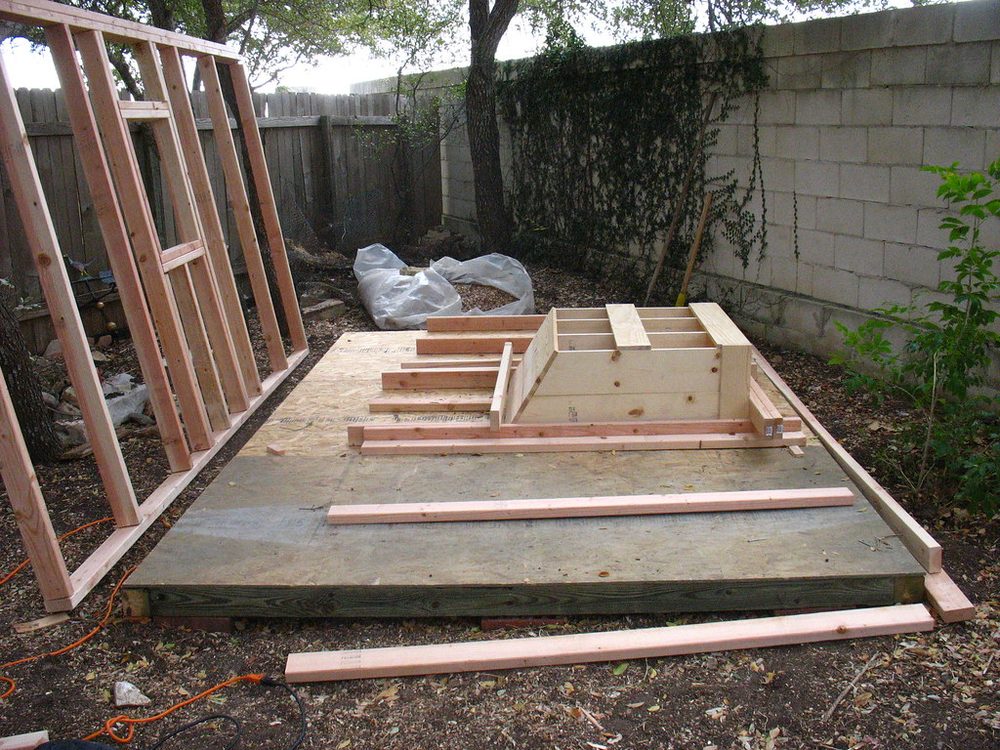
Most chunnels are not one tunnel but a kit of identical sections — and standardising the section is the idea that makes all the others easy. An 8-foot length of welded wire, bent to a consistent arc, with the cut edges folded or taped and a clip at each corner: make six and you can build a bed-side run this spring, a loop next year, and a connector whenever the yard changes.
The details that separate good sections from frustrating ones: bend over a former so arcs match and sections nest for storage; choose 2×2-inch welded wire as the balance of stiffness, weight and safety (1-inch is stronger but heavier and pricier; chicken wire is too floppy and too weak, full stop); and number your sections if you care about refitting the same route after winter storage. A keeper with standard sections thinks in tunnels the way a gardener thinks in beds — as rearrangeable infrastructure.
7. The PVC Hoop Mini Tunnel
The PVC run shrunk to tunnel scale: short hoops of electrical conduit or water pipe, pushed into the ground or clipped to a ground line, skinned with mesh. It is the lightest, cheapest tunnel to build and the fastest to move — a whole route can be lifted and re-laid in ten minutes — which suits trial layouts and rented gardens where nothing may be permanent.
Respect the same limits as its big brother: PVC embrittles in sun over seasons, and a hoop tunnel is a daytime, low-predator-pressure structure. Size it honestly — PVC tunnels tempt builders narrow, because narrow bends easier, but a standard hen needs her 18 inches of width and most of that in height to travel confidently. For bantams and growers it is ideal, and as a chick-training tunnel from brooder pen to garden it has no rival. Store the hoops flat under the coop in winter and the conduit lasts years longer than it does weathering in a hedge.
8. The Cattle-Panel Short Tunnel
Cut a cattle panel lengthwise and bend the strip into a wide, low arch and you have the heavy armour of the tunnel world: a corridor a dog cannot crush, a fox cannot tear, and a goat could probably stand on. At 3 feet wide it is generous for the biggest hens, and its stiffness holds shape on rough, sloping ground where wire sections crumple.
The panel grid alone is far too open — line it with welded wire or hardware cloth, wired on at close intervals, and mind the cut edges, which are genuinely vicious until filed or taped. Weight is the trade: panel tunnels are move-with-a-friend structures, so site them semi-permanently — the orchard run, the compost route, the woodland edge — and let the lighter sections handle the routes that change with the seasons. Two keepers' details: wear the thickest gloves you own for every cut and bend, and cap the tunnel ends with a framed section, because the panel's spring makes loose ends wander out of true.
9. The Under-Fence Tunnel
Every garden has a barrier the flock's route must cross: the gate you drive through, the path, the fence between the chicken yard and the garden proper. The under-fence tunnel passes beneath it — a short, strong section dug slightly into the ground under a gate or fence line, or boxed over a path like a tiny bridge the hens use and you step over.
Digging down has one non-negotiable: drainage. A tunnel in a trench is a moat in waiting, so bed it on gravel, crown the route slightly, or route over the path instead of under it wherever levels allow. Fit the crossing with the tunnel network's most secure door, because a crossing is where two territories meet — and where a predator patrolling the fence line will concentrate. Done well, it is invisible infrastructure: the garden reads as one space, the flock ranges all of it, and the gate still opens.
10. The Greenhouse Connector Tunnel
Connect the run to the greenhouse or polytunnel and winter changes for everyone: the flock gains a bright, sheltered, frost-free ranging space on the worst days, and the greenhouse gains a pest-clearing, bed-turning workforce exactly when its beds are empty or between crops. In summer the same tunnel, shaded, is a heat refuge with the door logic reversed.
Ventilation is the whole game. A greenhouse that suits hens in January can cook them in May, so the tunnel door — and the greenhouse vents — must be managed with the seasons, and the flock should never be shut in a sealed glasshouse in sun. Keep water at the greenhouse end, expect the hens to re-dig any bed you leave open (protect the ones you care about with — what else — a tunnel-width mesh cover), and enjoy the deep satisfaction of eggs and salad growing in the same warm room.
11. The Tunnel with Pop-Door Gates
A tunnel without doors is a tunnel the flock owns; a tunnel with doors is a tool you operate. Sliding or hinged mesh doors at each junction — run to tunnel, tunnel to pen, tunnel to garden — let you open routes selectively: the garden loop on dry days, the rested pen this month, nothing at all when the dog visits or the sprayer is out. Doors turn a chunnel from a novelty into the flock's traffic system.
Make doors from mesh offcuts in a simple timber frame, hung to swing or slide without catching, and latch them with the same two-step hardware as the run door — a tunnel door is a door, and raccoons cannot read the difference. The sleeper benefit: doors make tunnels into introduction pens, letting new hens travel and be seen without being reached, which is half the battle of merging flocks (the enrichment guide covers the social side of flock peace).
12. The Covered Winter Tunnel
Hens hate walking through snow and mud almost as much as their keepers hate carrying them. Covering an existing tunnel route — tarp, old greenhouse plastic or offcut roofing panels over the mesh — keeps the corridor dry and passable all winter, so the flock keeps using its full range on days when an open run would shrink to the coop doorway. It is a seasonal skin, fitted in autumn and lifted in spring.
Weight the cover against wind rather than fixing it hard — you want it off in the first storm warning, not sailing — and leave the ends open for air. In snow country, a covered tunnel between coop and a sheltered pen is the difference between a flock that winters well and one that spends four months in a doorway. Pair it with the covered dust bath and shade-corner thinking from the enrichment list and winter becomes a season the hens barely notice.
How to plan a chunnel that works
Start from the destination, not the tunnel: what ground do you want the flock working — the bed edges, the compost corner, the rested pen, the orchard floor? Draw the route that reaches it along paths and boundaries, keep it as straight and level as the garden allows, and count the junctions; each one wants a door (idea #11). Then build in standard sections (idea #6), sized 18–24 inches wide for standard hens, and peg everything down as if a fox will test it — because along fence lines and bed edges, one eventually will.
Manage the two honest weaknesses. Tunnels are daytime structures: unless built to connector standard (idea #3), they are not night-safe, so the flock sleeps in the run and the tunnel doors close at dusk — the routine from our predator-proofing ideas applies unchanged. And tunnels cross gardens that get sprayed, dug and harvested, so keep sections liftable and the route negotiable. A chunnel is the most rearranged structure in the chicken garden, and the good ones are designed for it.
FAQs
How wide and tall should a chicken tunnel be?
For standard hens, 18–24 inches wide and at least 18 inches tall at the arch lets a hen walk, turn (just) and pass a flock-mate without a quarrel. Bantams manage happily at 12–15 inches. When in doubt go wider: a tunnel hens find cramped is a tunnel they stop using, and width costs almost nothing at build time.
Will hens actually use a tunnel?
Yes — after a learning curve measured in days. Hens follow routes and each other; once the boldest bird commutes, the flock adopts the route as its own. Help them learn: open the tunnel when the flock is hungry and put a few treats at the far end for the first days, keep the route straight and light, and never chase a hen into a tunnel, which teaches the opposite lesson.
Are chunnels safe from predators?
A well-pegged welded-wire tunnel stops casual investigation and keeps hens in, but it is not a night defence: a determined fox or raccoon can tear, lift or dig at a light tunnel given hours of darkness. Treat tunnels as daytime infrastructure, close their doors at dusk, and build any permanent connector to full run standard with hardware cloth and real latches.
What mesh is best for a chunnel?
2×2-inch welded wire is the standard: stiff enough to hold an arch, open enough to keep tunnels light and see-through (hens prefer a tunnel they can see out of), and strong enough for daytime duty. Avoid chicken wire — too floppy to hold shape and too weak to trust — and use hardware cloth where a tunnel is permanent or crosses a high-risk boundary.
Can a chunnel replace a run?
No. A tunnel is a corridor to somewhere — the hens still need their full run with food, water, shelter and 10 square feet per bird to live in. Think of the chunnel as the flock's commute and workplace: it massively extends what a run offers, especially in a garden, but the run remains home. Size the home properly first with our sizing guide.
Ready to build one properly?
Our free starter plan — the Backyard Run, 8′ × 16′ — is the home base every tunnel on this page connects to, with the full materials list, tool list and step-by-step build outline.
Pin it for later