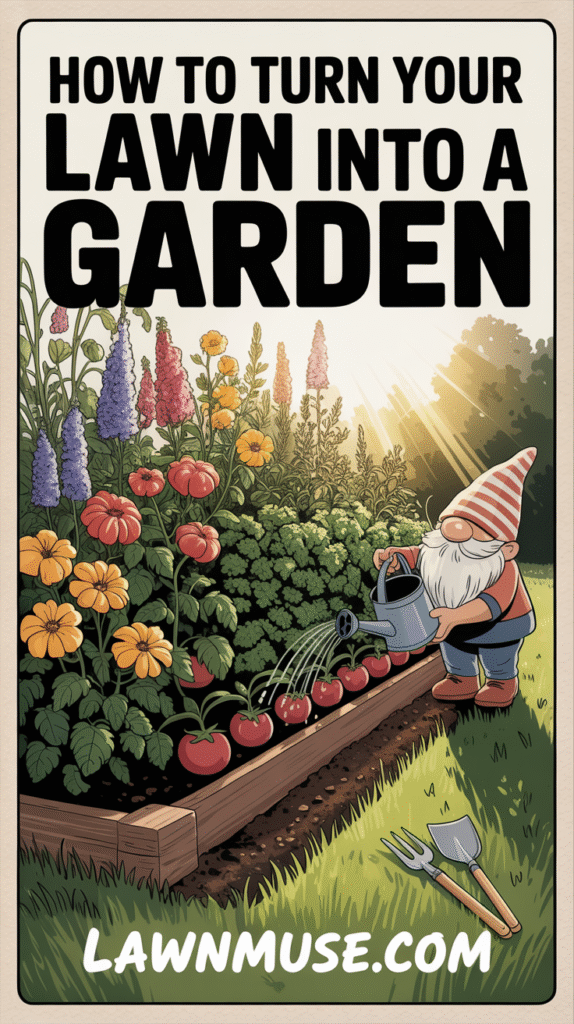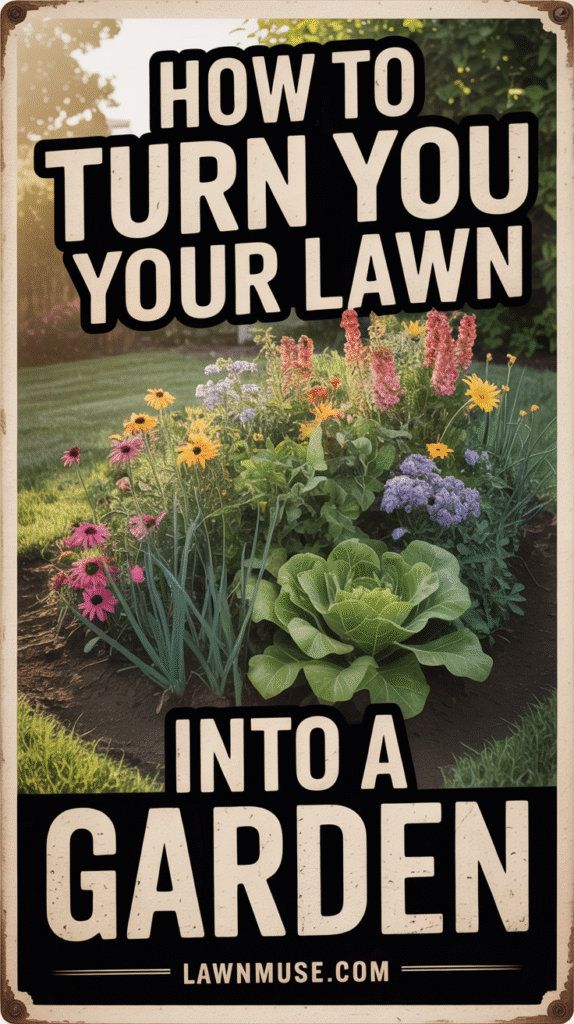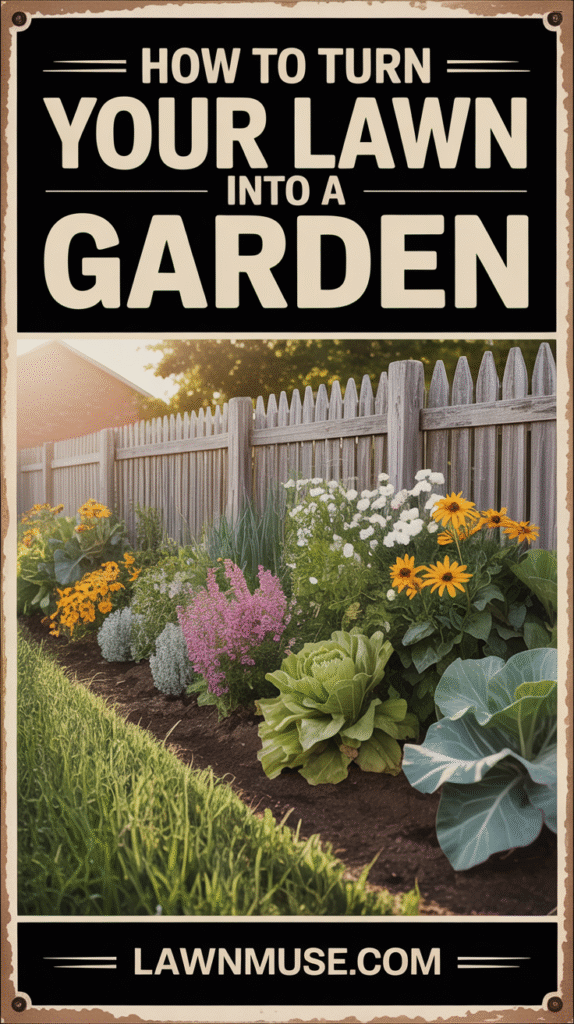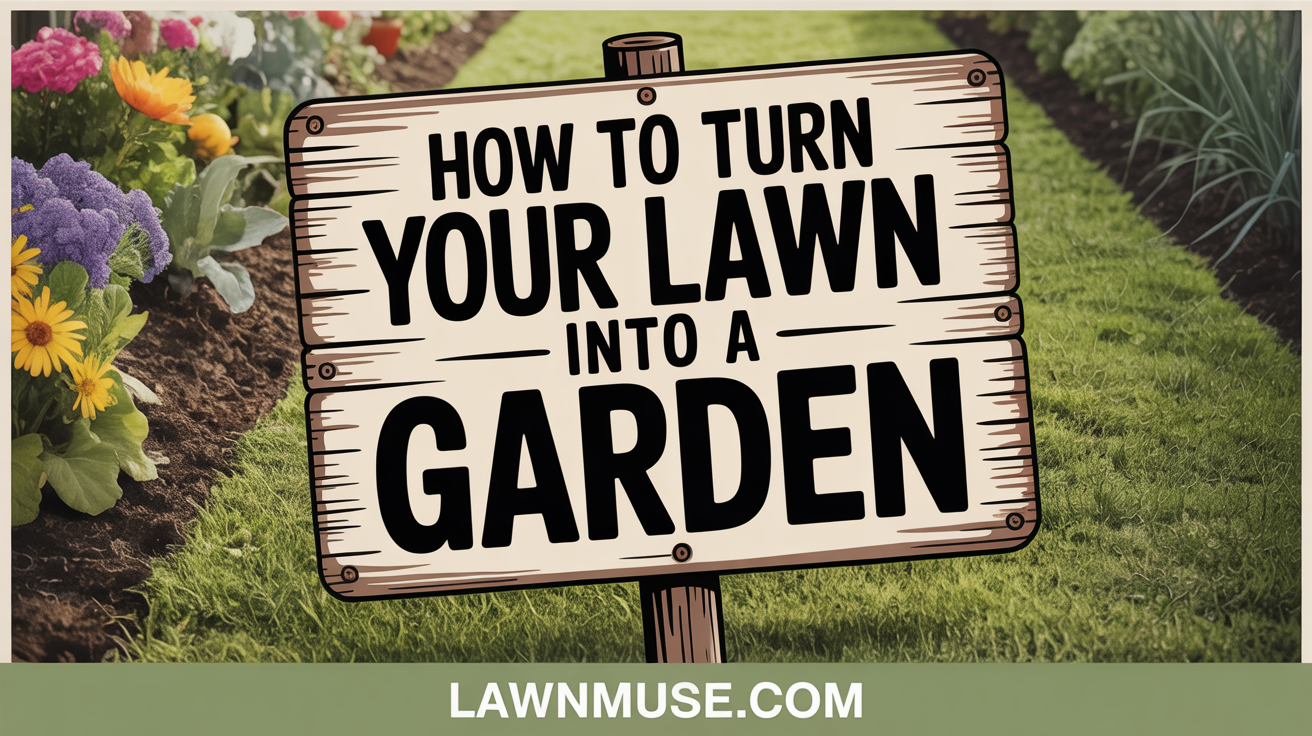
Transforming your lawn into a vibrant, productive garden is more than just a trend; it’s a wonderful way to embrace an eco-friendly lifestyle and connect with nature right in your own yard. Whether you’re a seasoned gardener or just starting out, you can absolutely turn your grassy space into a glorious garden oasis.
You might be wondering, “Why bother?” Well, the benefits are plentiful, both for you and the environment!
Why Turn Your Lawn Into a Garden?
Switching from a traditional lawn to a garden offers many advantages. For starters, it’s a fantastic way to support local pollinator populations, like bees and butterflies, which are incredibly important to our ecosystem. By replacing non-native turfgrass with native plants, you create a haven for these essential creatures.
Beyond that, you might find yourself saying goodbye to annoying grass allergies and surprisingly high water bills that often come with maintaining a lush, green lawn.
Here are some other great perks:
- You’ll spend less time on mowing and other tedious lawn chores.
- You get to grow and harvest your own edible produce, from vegetables and herbs to fruits.
- You can cultivate aromatic and decorative flowers right at home.
- It helps reduce your carbon footprint by lessening the need to travel for store-bought food.
- It’s a fantastic way to get family members involved in nature.
- Your landscape will gain a unique, vibrant, and personalized look.
- It can increase your household’s health by providing access to more fresh fruits and veggies.
How to Turn Your Lawn Into a Garden
Ready to dig in? Here’s a step-by-step guide to help you transform your yard:
1. Pick the Type of Garden
Deciding on your garden’s purpose is a great first step, especially if you’re new to gardening. There are so many possibilities!
Here are some common and unique garden ideas to inspire you:
- Edible garden: Focus on vegetables, herbs, fruits, and even edible flowers. It’s often best located close to your kitchen for easy access.
- Feed plot garden: This garden is specifically designed to feed critters like deer and rabbits, potentially keeping them away from your other cultivated areas. Plant it by the edge of your property.
- Rain garden: Ideal for yards that tend to be wet, it’s filled with water-loving plants that help reduce flooding.
- Sensory garden: Engage all your senses – sight, smell, taste, touch, and sound – with carefully chosen plants and features.
- Native plant garden: Typically low-maintenance, these gardens attract birds, bees, and butterflies, thriving in your local climate.
- Butterfly garden: Specifically tailored to attract and feed butterflies and their larvae.
- Cutting garden: Grow flowers specifically to be cut and arranged for bouquets indoors.
- Container garden: This type of garden is built above ground in various containers, offering flexibility.
- Succulent garden: A low-water option featuring succulents, cacti, and rocks.
- Moon garden: Designed to be enjoyed after dark, these gardens feature plants that bloom or are fragrant at night.
- Cottage garden: Often associated with English homesteads, these gardens have a whimsical, thrifty feel.
Your choice will also influence whether you’ll plant directly in the ground or use planters and raised beds. This decision impacts whether you’ll need to tackle the challenging step of removing existing grass.
2. Pick a Location
Once you have a general idea of your garden type, it’s time to choose the perfect spot.
Select the garden size
Are you envisioning a complete yard transformation, or starting smaller with a portion of your backyard, or even just a few flowerbeds? If you’re new to gardening, starting small is highly recommended. You can always expand your garden area year after year, which helps prevent wasted time, effort, and disappointment. If you’re aiming for a self-sustaining homestead, however, you’ll want to maximize your available land.
If you have pets, remember to designate a section of your lawn for them to play and relieve themselves. Choosing a grass type that’s more resistant to pet urine for this area can help keep it green.
Decide on sunlight requirements
Most flowers, vegetables, and fruits need six to eight hours of sunlight daily to truly flourish. Pay attention to which parts of your lawn get the most sun. South-facing areas often provide the most sunlight, as long as there aren’t trees or roofs casting shadows. You can use washable chalk spray to outline potential sunny spots for your garden.
If your backyard is mostly shaded, don’t worry! You can either design a shade garden specifically for low-light plants or consider planting an abundant vegetable garden in your sunnier front yard. You can also try to increase sunlight by trimming or removing large bushes and trees.
3. Get Rid of the Grass
If you’re planting directly into the ground, preparing your area means giving your lawn one last mow and then removing all the grass.
Why should you remove your grass?
If the soil layer above the grass isn’t deep enough, grass shoots and weeds can easily pop through and compete with your new plants. Strong, healthy lawn roots can extend 2 to 3 feet deep, so taking the time to thoroughly remove all grass and weeds is crucial for your garden’s success.
Keep in mind, not all gardening projects require grass removal. If you’re building raised garden beds, you don’t strictly need to remove your lawn. However, mowing around and between raised beds can be tricky. A good alternative is to plant low-growing cover crops like clover around the beds, which don’t need trimming and will attract more bees, or to surround them with hardscaping like gravel or pavers.
Before you remove grass
Before you begin any major digging, take these important steps:
- Call 311 to ensure you don’t accidentally cut into or dig up any utility lines.
- Remove your sprinkler system if you have one in the area.
- Check local guidelines or with your HOA for any restrictions on removing your lawn.
How to approach your last mow
When you do that final mow, set your mower to its lowest setting and “scalp” the grass. Cutting it as low as possible will speed up decomposition and make it easier to remove or kill the remaining blades.
How to remove grass
You’ll likely want to avoid herbicides, especially if you plan to grow edible plants. Fortunately, there are several effective chemical-free ways to get rid of your turf:
- Dig out the sod by hand.
- Use motorized tools to remove the sod.
- Smother the grass.
- Solarize your lawn.
- Sheet mulching (also known as lasagna gardening).
If you’re tackling your entire lawn, using power tools or methods like smothering, solarizing, or sheet mulching will be more efficient. For smaller sections or a few garden beds, hand removal with a hoe or sharp spade can be quick and easy.
Removing grass/sod busting by hand
This is the most labor-intensive method, but it can be a fast way to get started if you’re on a tight schedule and have a smaller area.
- What you’ll need: A sharp spade, a hoe or half-moon edger, a wheelbarrow, soil, and compost.
- How to do it:
- Water the ground the day before to soften it.
- Stretch thoroughly – your muscles will appreciate it!.
- Dig your spade into the ground, cutting out sections roughly one square foot and 1.5 to 3 inches deep.
- Use the spade or hoe to peel back and pull out the sod.
- Transport the sod in a wheelbarrow for composting or discarding.
- Pull out any remaining weeds.
- Fill any cavities with fresh soil.
- Rake compost into the soil.
- Now, you’re ready to garden!
Remove sod with a sod cutter
For larger areas, power tools like a sod cutter or rototiller can save you from back and knee pain.
- What you’ll need: Chalk spray, a sod cutter or rototiller, and a wheelbarrow.
- How to do it:
- Clear your lawn of debris and mow it.
- Water the soil up to three days beforehand to soften it.
- Mark out the area you’ll be cutting with chalk spray.
- Test the sod cutter or rototiller, ensuring it cuts at least 1.5 to 3 inches deep.
- Continue cutting strips of turfgrass.
- Once done, cut the strips into manageable 3- to 5-foot sections.
- Transport the sod to your compost bin using a wheelbarrow.
- Fill any empty spots with soil and compost.
- You’re ready to plant!
Solarizing grass
Harness the sun’s power to eliminate grass. This method is great for weed-ridden lawns and requires less labor. Just be aware it can take 4 to 12 weeks to work, so start in early spring.
- What you’ll need: A clear or black plastic tarp, a rake, and bricks or rocks.
- How to do it:
- Anchor the tarp securely over your desired garden area using bricks or rocks.
- Leave it in place for about four to twelve weeks.
- Rake away the dead grass.
- Add compost and other soil amendments.
- You can now plant your seedlings.
Smothering grass
Similar to solarization, this method kills grass by cutting off its oxygen supply. It takes longer, often several months, so it’s best to start this process in late summer or fall.
- What you’ll need: A rake, a mower, biodegradable (unwaxed) cardboard or old newspaper, a garden hose, and mulch.
- How to do it:
- Outline your desired garden area.
- Rake away any rocks or debris.
- Mow (even scalp) your lawn.
- Remove any lingering weeds.
- Cover the entire area with cardboard, overlapping the pieces generously to prevent weeds from popping through.
- Drench the cardboard with water.
- Add a layer of mulch on top to keep everything weighed down and looking neat.
- Wait until the grass has died and the cardboard has decomposed before you start planting.
No-dig lasagna gardening
Also known as sheet mulching, this is an easy, no-dig method that builds soil fertility. You should start your lasagna garden in late summer or fall, allowing at least six months for the layers to decompose before planting.
- What you’ll need: Biodegradable (unwaxed) cardboard or old newspaper, broken branches and twigs, “brown” organic materials (shredded newspaper, shredded leaves, pine needles), and “green” organic materials (compost, grass clippings, decomposed manure, fruit/vegetable scraps, coffee grounds, teabags/tea leaves).
- How to build a lasagna garden:
- Rake the grass/soil after scalping the lawn.
- Add a layer of broken branches, twigs, and leaves directly on the ground.
- Cover this with newspaper or cardboard, overlapping generously.
- Drench this layer thoroughly with water.
- Add 2-6 inches of “brown” organic materials.
- Add 1-2 inches of “green” organic materials.
- Continue layering, alternating “brown” and “green” materials, until you reach your desired height, ending with a “brown” layer on top.
- Wait about six months before planting.
4. Test and Amend Your Soil
Healthy soil is the bedrock of thriving plants, so you’ll want to ensure yours is rich in nutrients. Soil types vary by region, but most vegetables, fruits, and flowers prefer crumbly soil that’s full of organic matter, humus, and microorganisms, with a neutral pH.
Your soil might be:
- Clay: Often too dense for gardening, but can be improved over time.
- Loamy: Fine-textured and generally considered ideal for gardening.
- Sandy: Tends to struggle with retaining water or nutrients.
- Silty: Medium-textured and soft.
- Chalky: Lumpy, large-grained, and sometimes contains stone chunks.
- Peat: Spongy, often found in wetlands.
If your soil is heavy and clay-like, consider investing in raised garden beds because many plant roots will find it difficult to grow deep in dense clay.
How to test soil
You can either conduct a DIY soil test at home, which typically tells you the amount of nitrogen, phosphorus, and potassium, or send a sample to your local Cooperative Extension Office for a more comprehensive lab soil test. A lab test provides a nutrient breakdown and specific pH information. Your test results will guide you on what amendments your soil needs.
How to improve soil
Soil amendments can boost both texture and nutrient levels, and even adjust your soil’s pH. Here are some common methods:
Mix in organic soil amendments
- Compost: Great for improving clay, sandy, and silty soils.
- Aged or composted animal manure: Excellent for improving sandy and silty soils.
- Straw: Helps improve clay soil.
- Peat moss: Improves clay and sandy soil, and can lower pH.
- Wood chips: Beneficial for clay and silty soil.
- Wood ashes: Can help raise soil pH.
- Blood meal: Increases nitrogen levels.
- Bone meal: Boosts phosphorus levels.
- Seaweed: Increases potassium levels.
Mix in inorganic soil amendments
- Pea gravel: Improves clay and silty soil.
- Shredded rubber: Can improve clay and silty soil.
- Gypsum: Helps improve clay and silty soil.
- Sulfur: Used to lower soil pH.
- Garden lime: Used to raise soil pH.
Pro Tip: Avoid mixing sand and clay, as this can create a concrete-like layer instead of loosening the soil. If you found grubs or pest larvae while digging, think about using organic pest control methods like neem oil, Diatomaceous Earth, or beneficial nematodes to protect your garden.
5. Choose Your Plants
Now your transformed landscape is a blank canvas, ready for your artistic touch! You can fill it with a field of wildflowers or a vibrant vegetable garden, attracting butterflies and bees with native plants.
It’s wise to decide on your plants ahead of time to make the most of your garden design. When buying plants, check if they are annuals or perennials:
- Annuals: Live for a specific period, often just one season.
- Perennials: Survive summer and winter to grow year after year.
For less replanting work each year, consider filling your garden with perennials. Before you go shopping, find out your USDA hardiness zone to ensure your chosen perennials can withstand your region’s environmental conditions.
Before you hit the plant nursery, make sure you know your:
- Hardiness zone.
- Garden’s sunlight levels.
- Average regional rainfall.
- Yearly temperature lows and highs.
Here are some common garden plants to get you started:
| Edible Herbs | Common Vegetables | Common Fruits | Flowers |
|---|---|---|---|
| Oregano | Lettuce | Tomatoes | Marigolds |
| Basil | Potatoes | Strawberries | Daisies |
| Mint | Carrots | Blueberries | Sunflowers |
| Rosemary | Peppers | Raspberries | Zinnias |
| Parsley | Radishes | Grapes | Pansies |
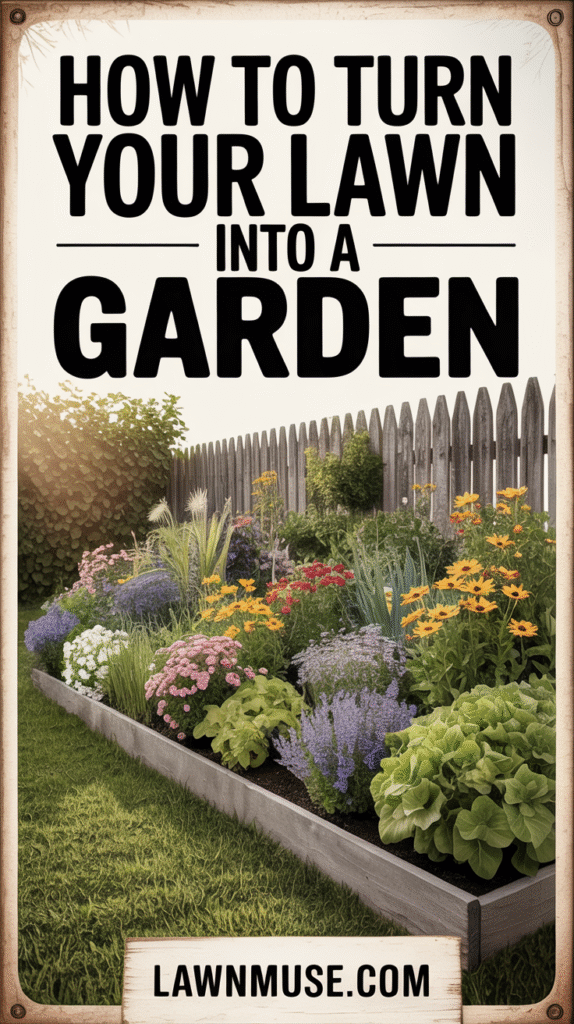
6. Build Your Garden Beds
With your plants chosen and your yard prepped, it’s time to construct your garden! Your garden can be planted directly in the ground or in containers or raised beds.
Build in-ground garden beds
If you’re planting directly in the ground, be sure to include pathways. This prevents you from accidentally trampling your precious plants when watering or simply walking through. Aim for pathways that are at least 2 to 2.5 feet wide and cover them with mulch to keep them intact.
If you know what plants you’ll grow, you can customize your design to suit their needs. Some plants, like onions and carrots, do well with companion planting, while others need plenty of room to spread out.
- What you’ll need: Garden soil and mulch.
- How to build garden rows: Use the classic vegetable garden design by forming a series of growing rows. These rows should be formed with garden soil to be 16 inches wide and 10-12 inches high. Make sure to add mulch around the beds to keep them intact.
Build raised beds
Raised garden beds eliminate the strenuous task of removing grass, making gardening easier, especially for those who have difficulty bending. They can even be designed to be accessible for gardeners who use wheelchairs.
Raised beds are ideal if you have poor quality soil (sandy, clay, or acidic) and are excellent for keeping pests out of your garden. While they can be a bit more expensive than in-ground planting, the benefits often outweigh the cost.
- What you’ll need: Wood, stone, or similar materials, garden soil, and compost or peat moss.
- How to build raised garden beds:
- Outline the area where your garden beds will go.
- Use wood, stone, or other materials to build a border 8 or more inches high around the desired garden area.
- Fill the raised bed with garden soil.
- Mix in peat moss or compost.
- Now, it’s time to plant!
7. Plant Flowers and Veggies
Head to your local plant nursery or gardening store to pick up all the plants you’ve envisioned. Always research and read each plant’s instructions carefully to ensure it will thrive in your specific yard.
When should I plant my garden?
Your plants have a better chance of survival if you start them as seedlings. Use plug trays or small pots to get seeds started about six weeks before the last frost in your region. Depending on where you live, this could be anywhere from December to late May.
Whether you’re planting seeds or pre-grown plants, read the seed packets or container information carefully. They will provide details on sunlight, water, and spacing requirements. Follow these instructions, and your garden will be blooming and ready for harvest in no time!
When should I water my garden?
Different plants have different watering needs. Try to organize plants by their watering requirements, a technique known as hydrozoning, to avoid overwatering or underwatering any of them. Generally, most plants need to be watered once or twice a week.
To make watering hassle-free and save water and money, consider installing a drip irrigation system.
8. Mulch Your Garden Beds
If you don’t have raised garden beds, mulch becomes especially important. It helps prevent soil erosion until your plants mature and develop deeper roots. After planting, scatter mulch around your plants to hold the soil in place and keep weeds from popping up.
Mulch can be either organic or inorganic:
Types of organic mulch:
- Wood chips
- Tree bark
- Leaves
- Pine needles
Types of inorganic mulch:
- Gravel
- River rocks
- Rubber pellets
Experts often recommend using organic mulch because it decomposes over time, enriching your soil with valuable nutrients. When applying, spread it around, leaving a 2-3 inch mulch-free space around each plant.
Benefits of mulch:
- Retains soil moisture.
- Regulates soil temperatures.
- Prevents erosion.
- Keeps weeds out.
9. Add Some Personality
Your landscape is yours to personalize! Decorate your gardens, install outdoor living spaces, and let your unique style shine through.
- Add mulch to your garden pathways for a neat look, or consider installing more permanent options like pavers.
- Fencing can make your garden look more cohesive and helps deter hungry critters like deer.
- For less maintenance, design a low-maintenance rock garden.
- Install a unique sensory garden to keep family members of all ages engaged outdoors.
- Use the flowers you grow in your garden to add a splash of color and personality to your porch or home.
FAQs About Turning Your Lawn Into a Garden
Here are answers to some common questions you might have as you embark on your gardening journey:
When’s the best time to transform your lawn into a garden?
The ideal time to remove your lawn and start building your garden is from late summer through late fall. If you live in a warm, temperate climate, you might even be able to work on it through the winter. While you can start in the spring, you’ll have less time before you need to plant seedlings, and it might feel rushed. Starting earlier helps you avoid battling weeds in the spring and summer.
How do I start composting?
A compost pile is truly a gardener’s best friend! Composting is an incredibly eco-friendly way to recycle organic waste and provide a constant supply of fresh nutrients for your budding garden. You’re likely already producing enough organic waste, from grass clippings to veggie scraps, to begin composting. You can buy a compost container, build your own, or simply start a compost pile in your yard.
There are also several forms of composting you might explore:
- Aerobic composting: Requires oxygen for decomposition.
- Anaerobic composting: Doesn’t require oxygen for decomposition.
- Bokashi composting: A type of anaerobic composting that uses fermentation.
- Vermicomposting: Aerobic composting that uses worms to break down waste.
How much does it cost to use a sod cutter or rototiller?
Renting costs for these tools depend on the size of your garden space and how long you’ll need them.
- You can typically rent a walk-behind sod cutter for up to $110 per day.
- A square-edge sod cutter can be bought for up to $80.
- Renting a rototiller generally costs between $80 and $150 per day.
Grow Your Green Thumb
Gardening is a journey that takes time and effort, and everyone makes mistakes along the way. Your first year with a new garden can definitely present challenges, but with dedication and hard work, you can look forward to a bountiful harvest by the end of the year. Enjoy the process of transforming your space and watching it come to life!