Hey there, fellow gardener! Dealing with weeds can feel like a never-ending battle, right? You put so much effort into making your yard look fantastic, only to have those pesky invaders pop up seemingly overnight. While chemical weed killers might seem like an easy fix, they often come with a lot of baggage – from potential health concerns for you and your pets to negative impacts on beneficial insects like bees and the environment.
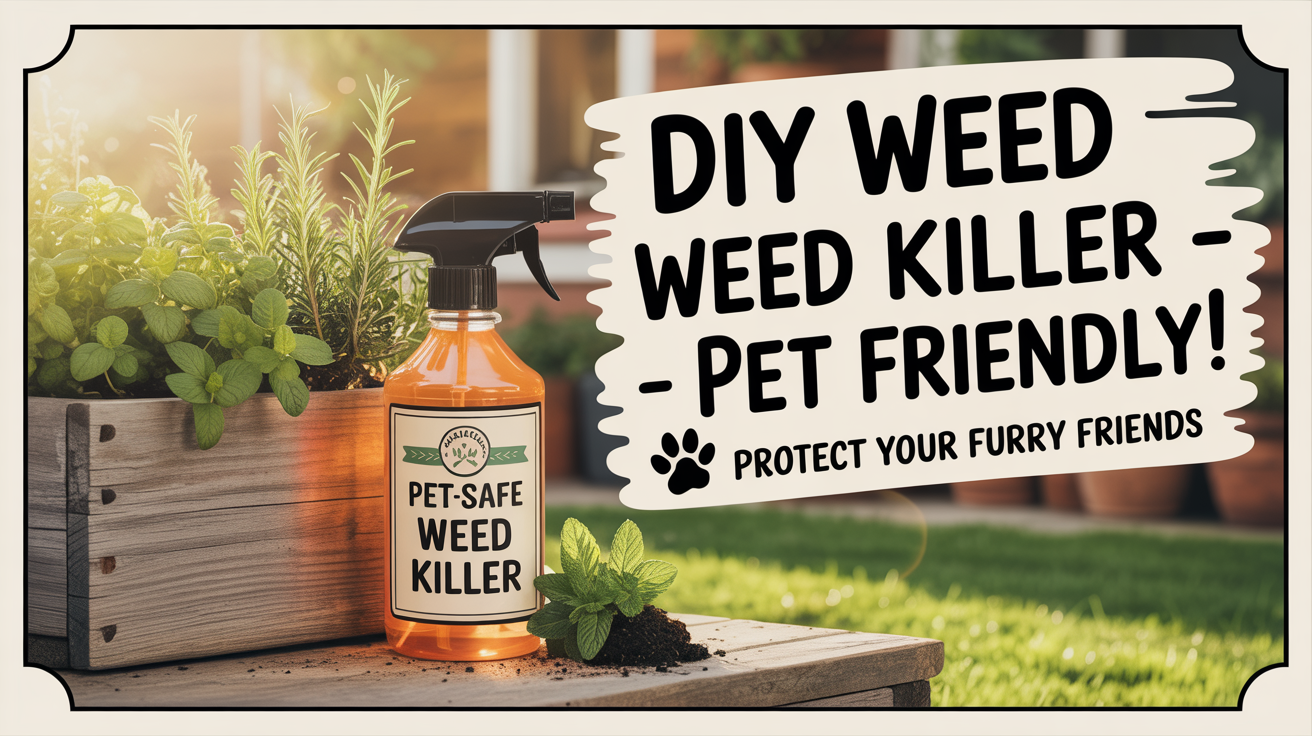
But don’t worry, there’s a better way! More and more home gardeners are discovering the power of homemade weed killers. They’re a fantastic, organic alternative that can help you keep your lawn and garden looking pristine without the harsh chemicals.
Ready to learn how to tackle weeds naturally? Let’s dive in!
The Upside of Homemade Weed Killers
Choosing to mix up your own weed-killing concoctions offers some pretty amazing benefits:
- They’re Kinder to the Planet: Commercial chemical weed killers can easily spread into local waterways and the surrounding environment, potentially harming wildlife such as fish and amphibians. Homemade options, when used correctly, don’t carry these same risks.
- They Protect Our Pollinators: Products like glyphosate, found in many commercial herbicides, have been linked to declines in bee populations. Opting for homemade solutions is a much safer choice for these vital creatures.
- Super Simple to Use: You’ll be amazed at how easy these natural herbicides are to make and apply. Many recipes use ingredients you might already have in your pantry, and some don’t even require special tools beyond a basic garden sprayer.
- They’re Budget-Friendly: Since you’re using common household items, these DIY recipes are incredibly inexpensive – sometimes even free! You can save money while still achieving a weed-free space.
Your Go-To Homemade Weed Killer Recipes
Unlike some common DIY formulas that aren’t very effective or can harm your soil over time, the following recipes use ingredients proven to tackle weeds. They’re also simple to prepare and apply.
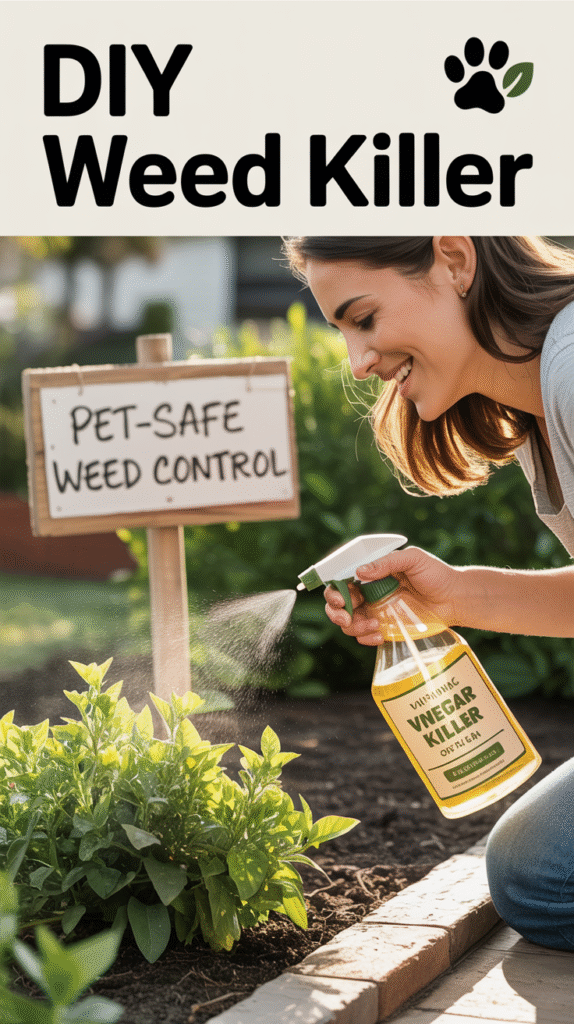
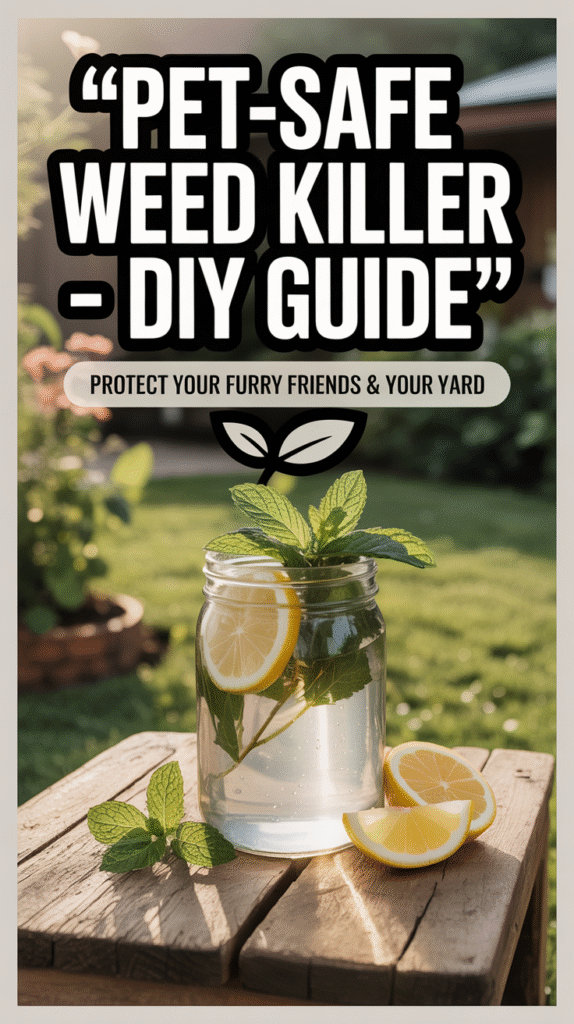
Recipe 1: Horticultural Vinegar Power
You might think any vinegar will do the trick, but when you’re battling tough weeds like dandelions, clover, or even poison ivy, you need something with a bit more punch. Regular household vinegar usually has about 5% acidity, which isn’t always strong enough. Look for horticultural vinegar with an acetic acid concentration of 20% to 30%. This higher strength makes quick work of a wide variety of weeds.
What You’ll Need:
- Horticultural vinegar (20% to 30% acidity)
- Water
- Dish soap (any brand works!)
- A garden sprayer or spray bottle
- Safety gear: protective eyewear, gloves, and clothing (Horticultural vinegar can cause skin and eye irritation, so always protect yourself!)
How to Apply It:
- Prepare the Mixture: First, put on your safety gear. Then, carefully pour 4 parts horticultural vinegar and 1 part water into your gallon sprayer. Be slow to prevent splashes. Add a tablespoon or two of dish soap to the mixture. The dish soap acts as a “surfactant,” helping the vinegar stick better to the weed leaves, making it more effective. Stir everything together well.
- Timing is Key: The best time to spray is on a hot, dry day when you don’t expect rain for at least a few days. Rain can wash the herbicide away, reducing its effectiveness. Also, avoid windy days to prevent the spray from drifting onto plants you want to keep.
- Saturate the Weeds: Position the sprayer nozzle close to the weeds you want to eliminate to prevent overspray. Thoroughly saturate the leaves of the target weeds.
- Repeat If Needed: Horticultural vinegar works well on young weeds and those with shallow root systems, especially broad-leafed ones. However, for larger or more established weeds, you might need to reapply the spray several times. If you notice any green sections on the weeds after spraying, reapply at 2-week intervals until they stop regrowing. Remember, this is a general herbicide, meaning it will kill any plant it touches, so be precise with your application!
Recipe 2: Corn Gluten Meal
Corn gluten meal is a natural, pre-emergent herbicide derived from the corn milling process. It’s often used in livestock feed but is also fantastic for preventing new weeds like crabgrass from sprouting in your lawn and garden. As a pre-emergent, it doesn’t work on existing weeds, but it’s a powerhouse at stopping new weed seeds from developing roots and spreading.
What You’ll Need:
- Corn gluten meal
- A lawn spreader (or your hands for smaller areas)
- Water
How to Apply It:
- Get the Timing Right: This is crucial for corn gluten meal. You must apply it before weed seeds germinate. If you apply it too late in the season, it won’t prevent weeds, and the nitrogen it contains might actually encourage weed growth! Generally, the best time is late March to mid-April, before weed seeds begin to sprout. Make sure the weather is dry and no rain is expected for a few days.
- A quick tip for vegetable gardens: Only apply corn gluten meal after your vegetable seeds have germinated, as it can prevent them from sprouting too.
- Apply the Meal: Scatter the corn gluten meal by hand or use a broadcast spreader. You’ll typically need about 20 pounds of corn gluten meal for every 1000 square feet of gardening space.
- Add Water: Lightly water the corn gluten meal into your garden or lawn. After this initial watering, try to keep the treated area dry for at least two to three days so the product can start working.
- Repeat as Necessary: Corn gluten meal won’t eradicate all weeds with one application, but it has a cumulative effect. For areas with a lot of weeds, consider applying it every month or repeating the treatment once more at the end of summer.
Recipe 3: Boiling Water
This is truly the most budget-friendly herbicide out there, and it requires no special equipment or chemicals beyond what you already have! The intense heat from the boiling water damages and kills weed leaves, preventing them from regrowing. It’s most effective on young, tender-stemmed weeds, but repeated applications can weaken the root systems of established weeds, keeping them from returning.
What You’ll Need:
- Your stove
- A large pot or kettle
- Water
How to Apply It:
- Heat the Water: Start by bringing water to a rolling boil on your stove. A larger pot can help you cover more ground, but make sure it’s not so heavy that it’s unsafe to carry.
- Drench the Weeds: Carefully pour the boiling water directly over the weeds you want to remove. Be extremely cautious not to splash or pour it on any plants you want to keep, as boiling water kills any plant it touches. This method is particularly effective for weeds growing in driveways, walkways, and pavement cracks where other plants aren’t present.
- Repeat (If Needed): Small weeds often die with a single treatment. However, larger weeds might need to be weakened over time. Reapply boiling water at 2-week intervals until the weeds stop regrowing.
Homemade vs. Commercial Weed Killers: Your Best Bet
Homemade weed killers are not systemic herbicides, meaning they usually only kill the parts of the plant they come into contact with, not necessarily the entire root system deep underground. Because of this, you might need to reapply them a few times to keep weeds from coming back. Yes, this can be a bit more work, but you can rest easy knowing your choice of herbicides is eco-safe and won’t harm your soil or the broader environment.
For the best results, think of homemade weed killers as part of an integrated weed management strategy. This means combining them with other natural approaches. Here are some ideas:
- Manual Weeding: Sometimes, nothing beats getting your hands dirty! Pulling weeds by hand, ensuring you get the roots, is incredibly effective, especially for isolated weeds or smaller areas.
- Mulching: Applying a thick layer of mulch (like wood chips, straw, or even newspaper) after removing weeds can prevent new ones from emerging by blocking sunlight. Mulch also helps moderate soil temperature and retain moisture.
- Weed Barrier Fabrics: These can be used to create a physical barrier that prevents weeds from growing through.
- Cover Crops: These are plants grown to protect and improve your soil rather than for harvest. They’re excellent for controlling erosion, suppressing weeds, reducing soil compaction, boosting nutrients, attracting pollinators, and supporting beneficial wildlife.
- Higher Mowing: Setting your lawnmower blade higher (3.5 to 4 inches) helps your grass grow a more extensive root system and casts more shade, making it harder for weeds to take hold.
- Edging and Root Barriers: Installing physical barriers like boards, strips, or even paving slabs can stop invasive weeds and grasses from spreading into your garden beds.
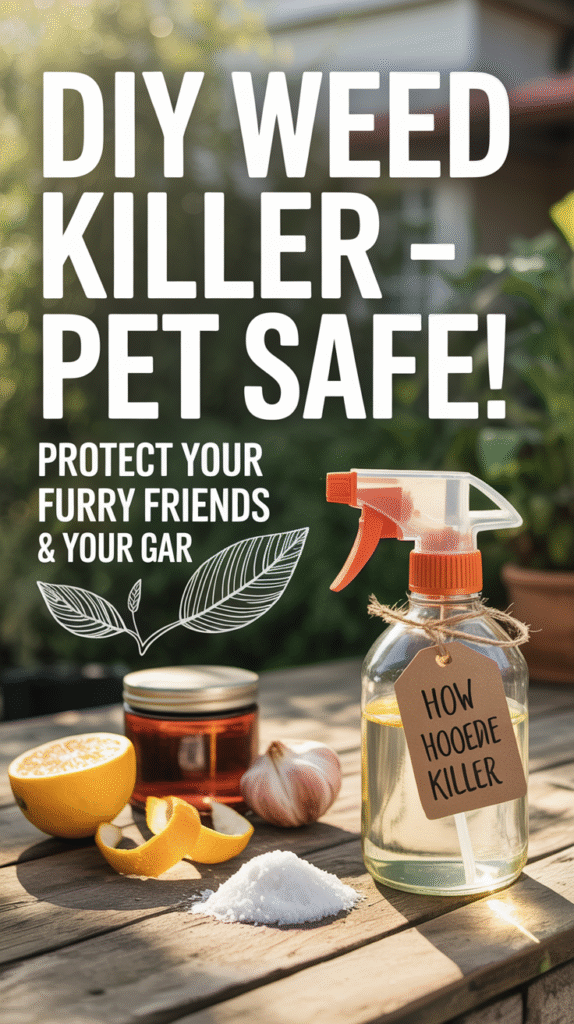
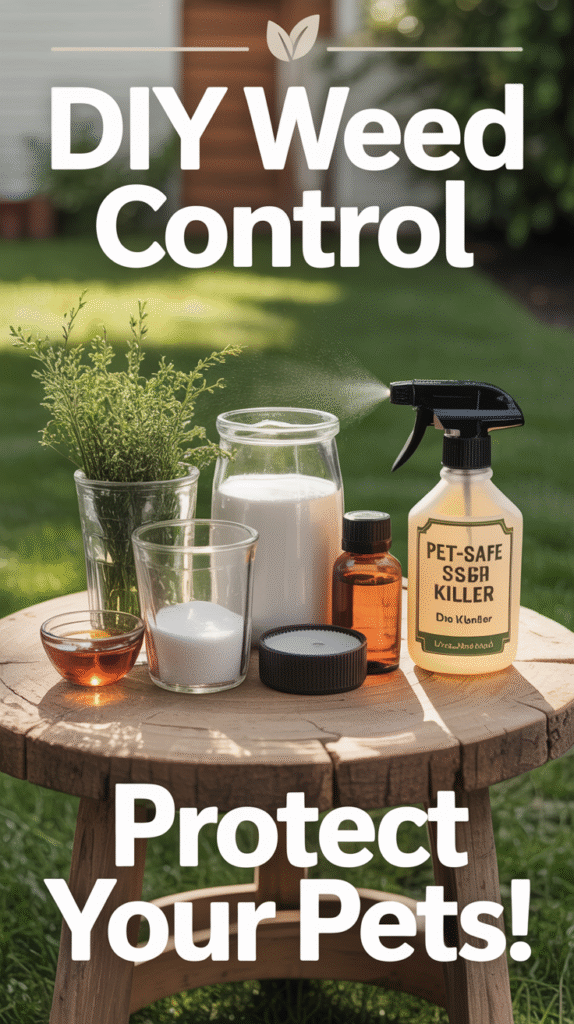
- Baking Soda: You can sprinkle baking soda on patios and pathways to dry out weeds. It works by absorbing moisture. You can also mix it with water and a bit of vinegar for a spray.
- Rubbing Alcohol: A mixture of rubbing alcohol and water can kill weeds by drawing moisture from them. However, it’s not considered all-natural for broad use.
- Propane Torch (Flame Weeding): A surprising but effective method! Using a propane torch to quickly wilt weeds with heat damages their cellular structure. Just be very cautious, especially in dry conditions, to avoid fires.
- Sugar: For stubborn weed trees or vines, putting sugar at the base can be effective. Mix it with chili pepper to deter pests.
Your Questions, Answered
You might have a few more questions swirling around about going natural with your weed control. Let’s clear them up!
- Will grass grow back after using vinegar? Yes, if you spray too much vinegar or spray on a windy day, it will kill grass. However, grasses and perennials generally grow back because the vinegar primarily affects the above-ground growth, not typically the roots.
- Is bleach useful for killing weeds? While bleach will kill weeds, it’s a bad idea. It can severely damage your soil and harm any desirable plants nearby. It’s best to stick to other, safer methods.
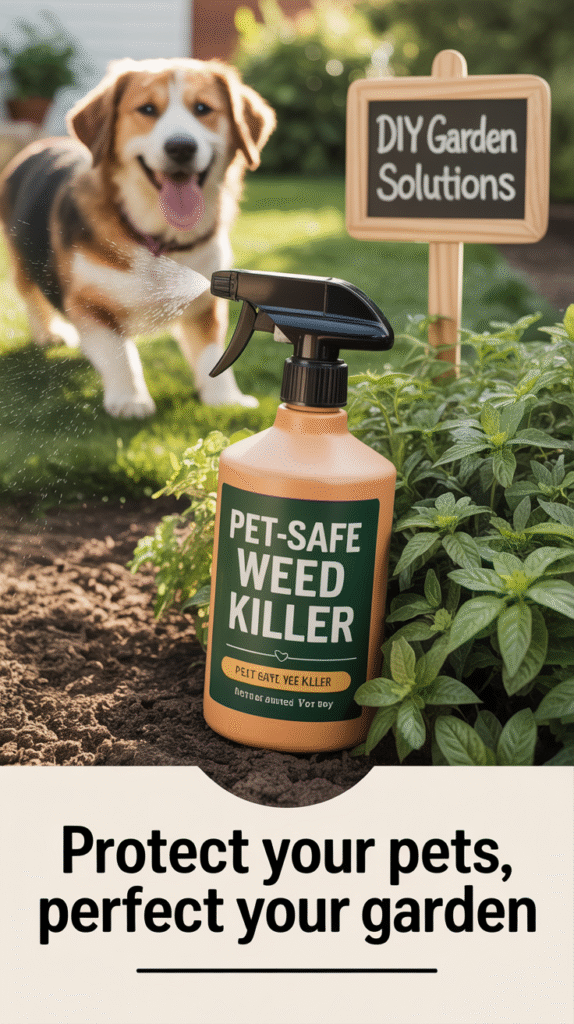
- Is lawn weed killer safe for dogs? Many commercial weed killers contain chemicals like glyphosate, which has been linked to cancer in both humans and dogs. If your dog is exposed immediately after a chemical lawn treatment, they could suffer symptoms like burns, rashes, drooling, gastric problems, lethargy, or even seizures. Ingesting large amounts of chemical weed killer, say from a spilled container, could be fatal. Always keep all chemicals out of reach of your pets.
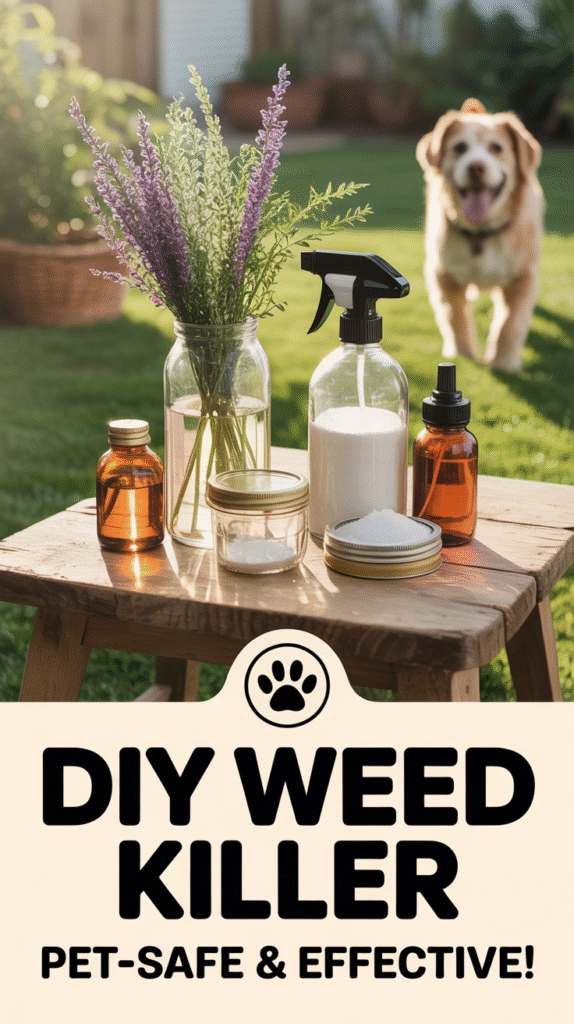
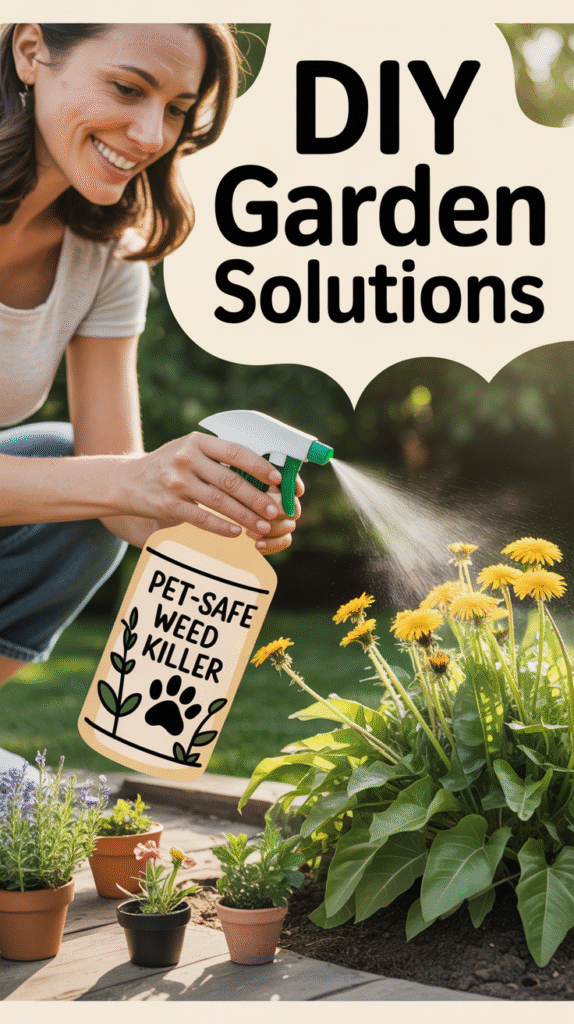
- What are some pet-safe weed killers? Absolutely! Vinegar, salt, boiling water, sugar (especially for vines and trees), and cornmeal are all excellent DIY, animal-safe options. You can also find commercial products that are specifically labeled as pet-friendly and avoid ingredients like 2,4-D (trimec), sethoxydim, carbon tetrachloride, and chloroform.
- How long does it take for homemade weed killer to work? You can often see results within a few hours if you apply it on a sunny, warm day; weeds will start to wither and turn brown. However, these solutions don’t always penetrate deep into the root system like chemical herbicides do, so you may need multiple treatments to keep stubborn weeds from returning.
- Does vinegar and Epsom salt weed killer work? Yes, a combination of vinegar and Epsom salt can create a very effective weed killer. Epsom salt (magnesium sulfate) can prevent plants from absorbing other nutrients, causing them to die, while vinegar dehydrates them. When making this, you can mix equal parts of white vinegar and Epsom salt in a spray bottle.
- Can you use Epsom salt in homemade weed killer? Yes, you can, but use it with caution. While effective for weed control, the solution can be destructive to other plants it comes into contact with. Always apply it carefully to avoid harming desirable plants.
- Will organic weed killers damage my soil? It depends on the ingredients. If a homemade weed killer contains salt, it can damage your soil by making it infertile, and it can take years for the salt to leach out. However, organic herbicides with vinegar or other non-chemical ingredients usually only stay in the soil for a few days and are less likely to cause lasting damage.
Embracing these natural methods allows you to enjoy a beautiful, weed-free garden without compromising the health of your family, pets, or the environment. It takes a little effort and consistency, but the results are truly rewarding. Happy gardening!